Project Ironhorse: Stage 1
This is to document the build of Project Ironhorse. Since nobody in my house went to their respective school or jobs last week, I enlisted the help of my son to help build our new AI inference rig. These are the build notes.
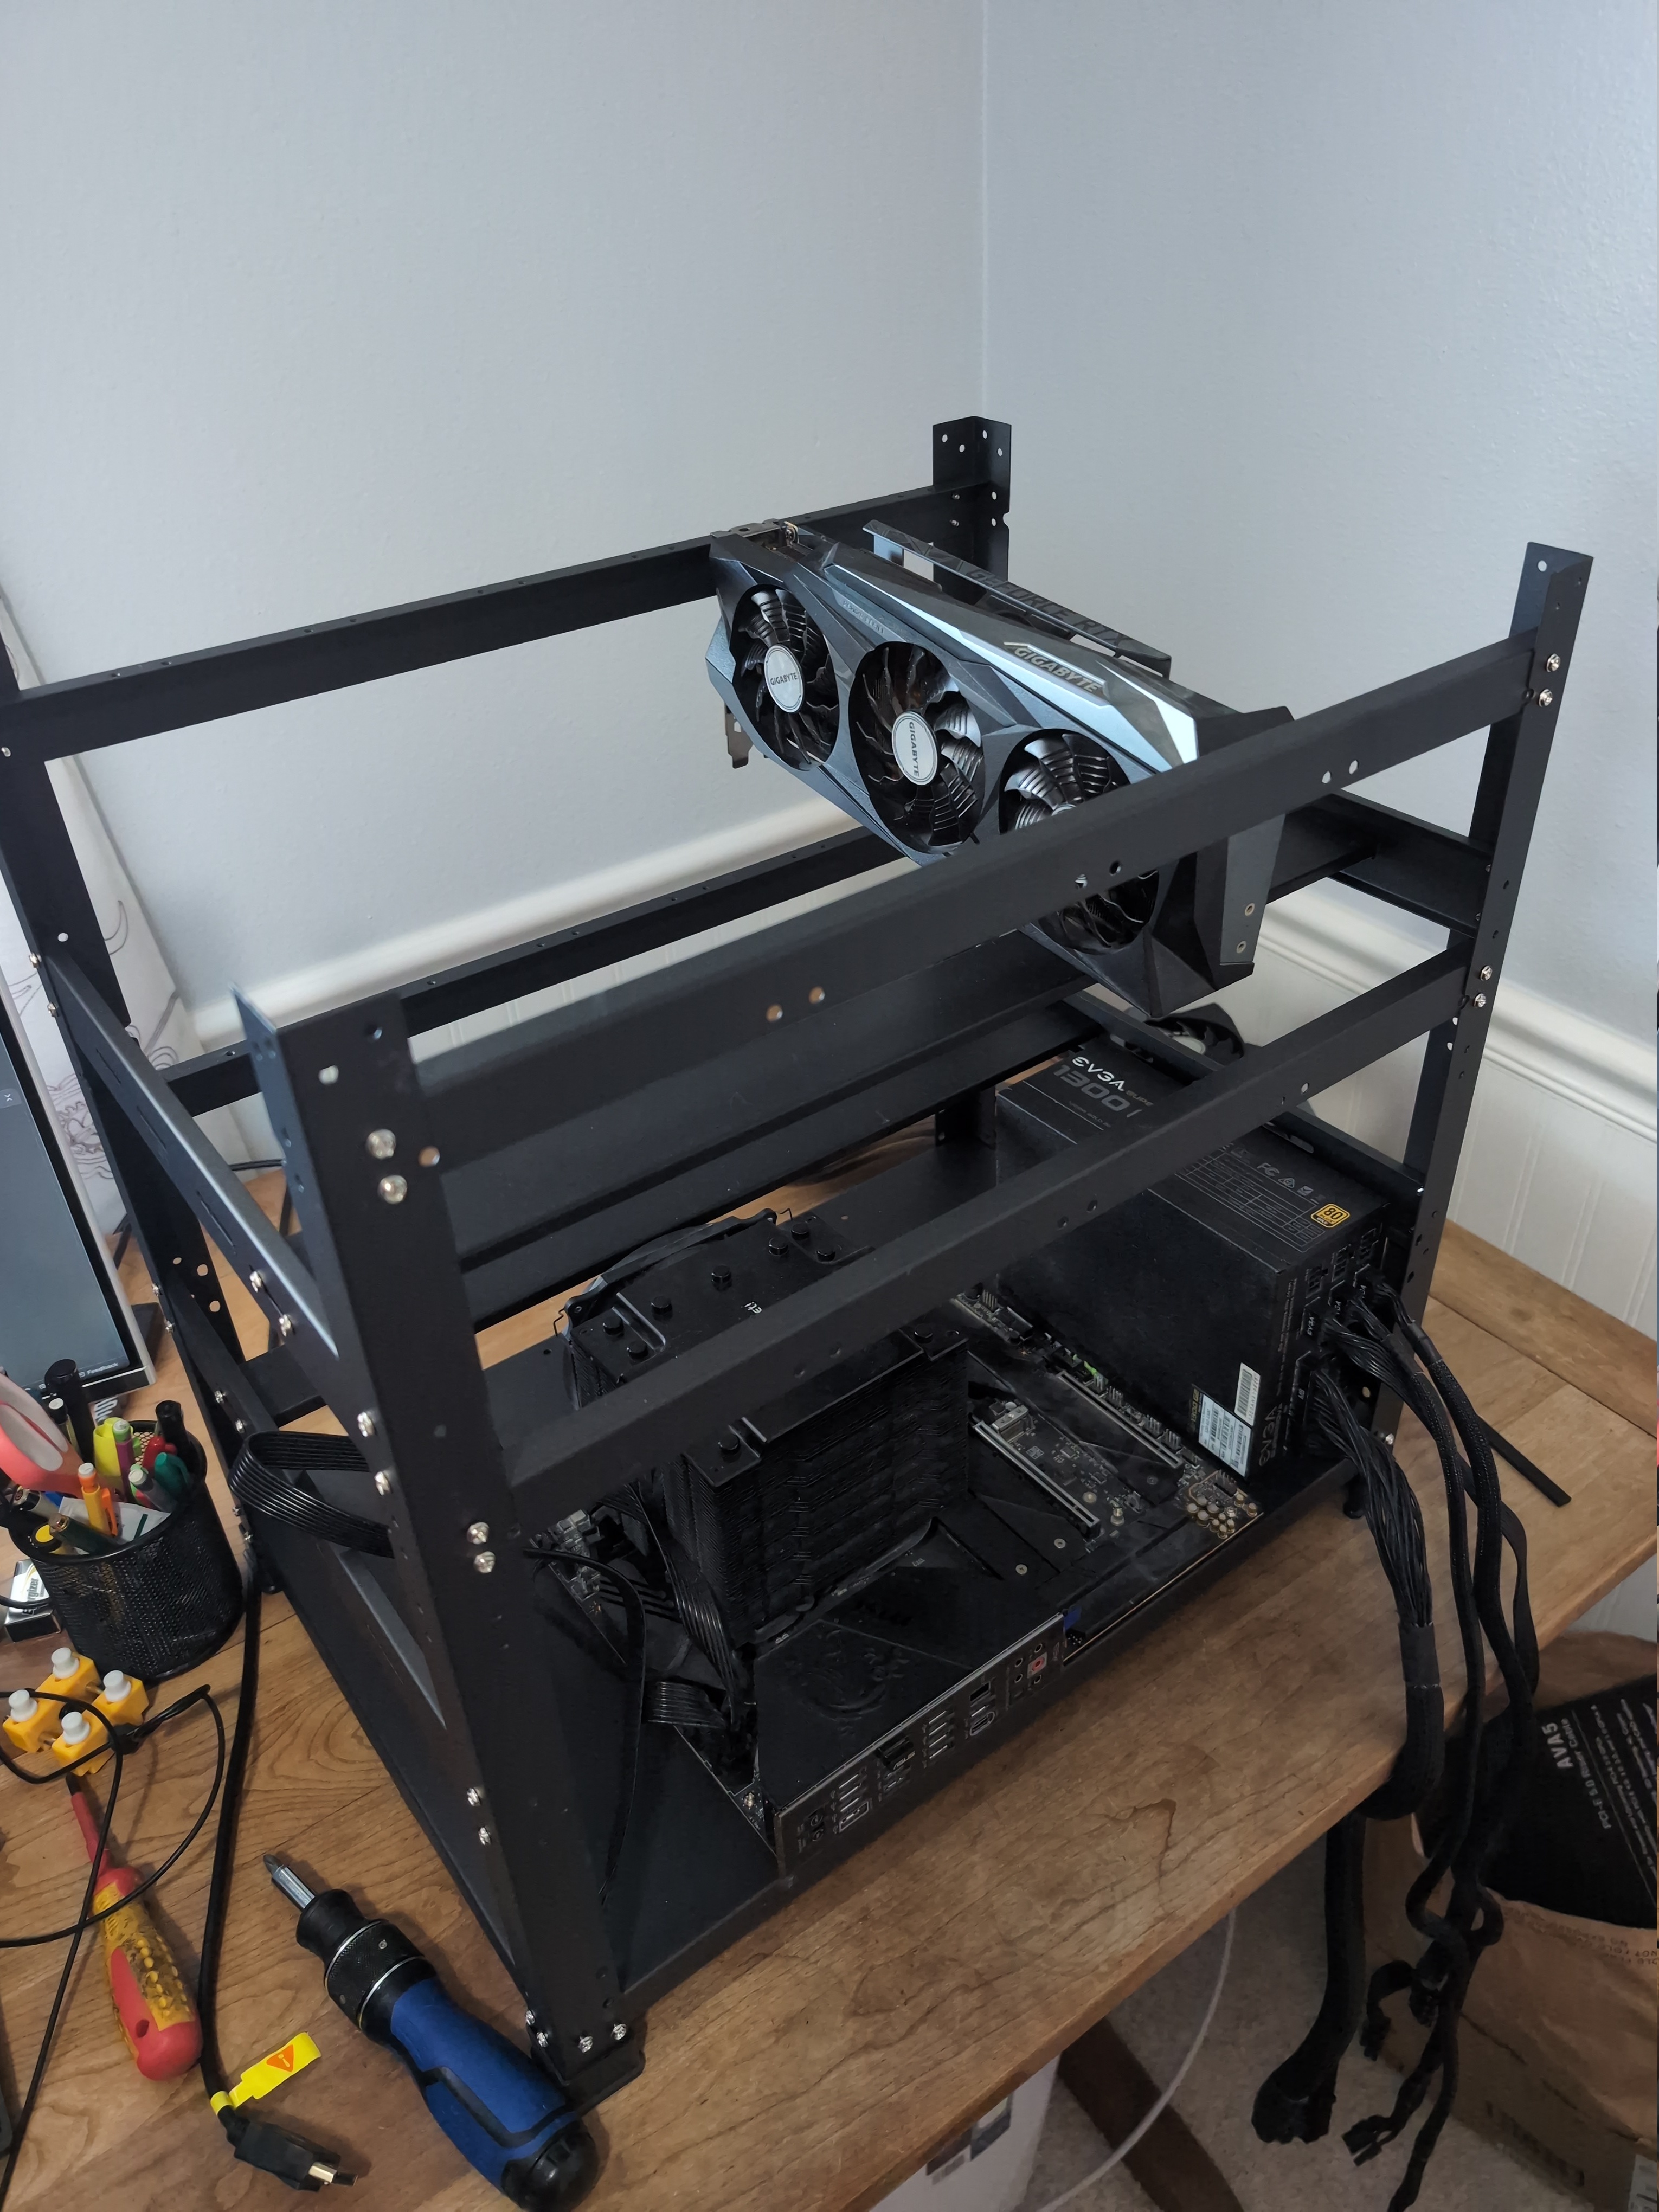
I started with an AMD 5800x and a gaming motherboard. 2x RTX 3090s and 64 GB of RAM. It was already a decent setup, however we were maxed out on PCIe lanes, needed a case because the motherboard was sagging under the weight of the GPUs, and we were not going to be able to do anything more with this system.
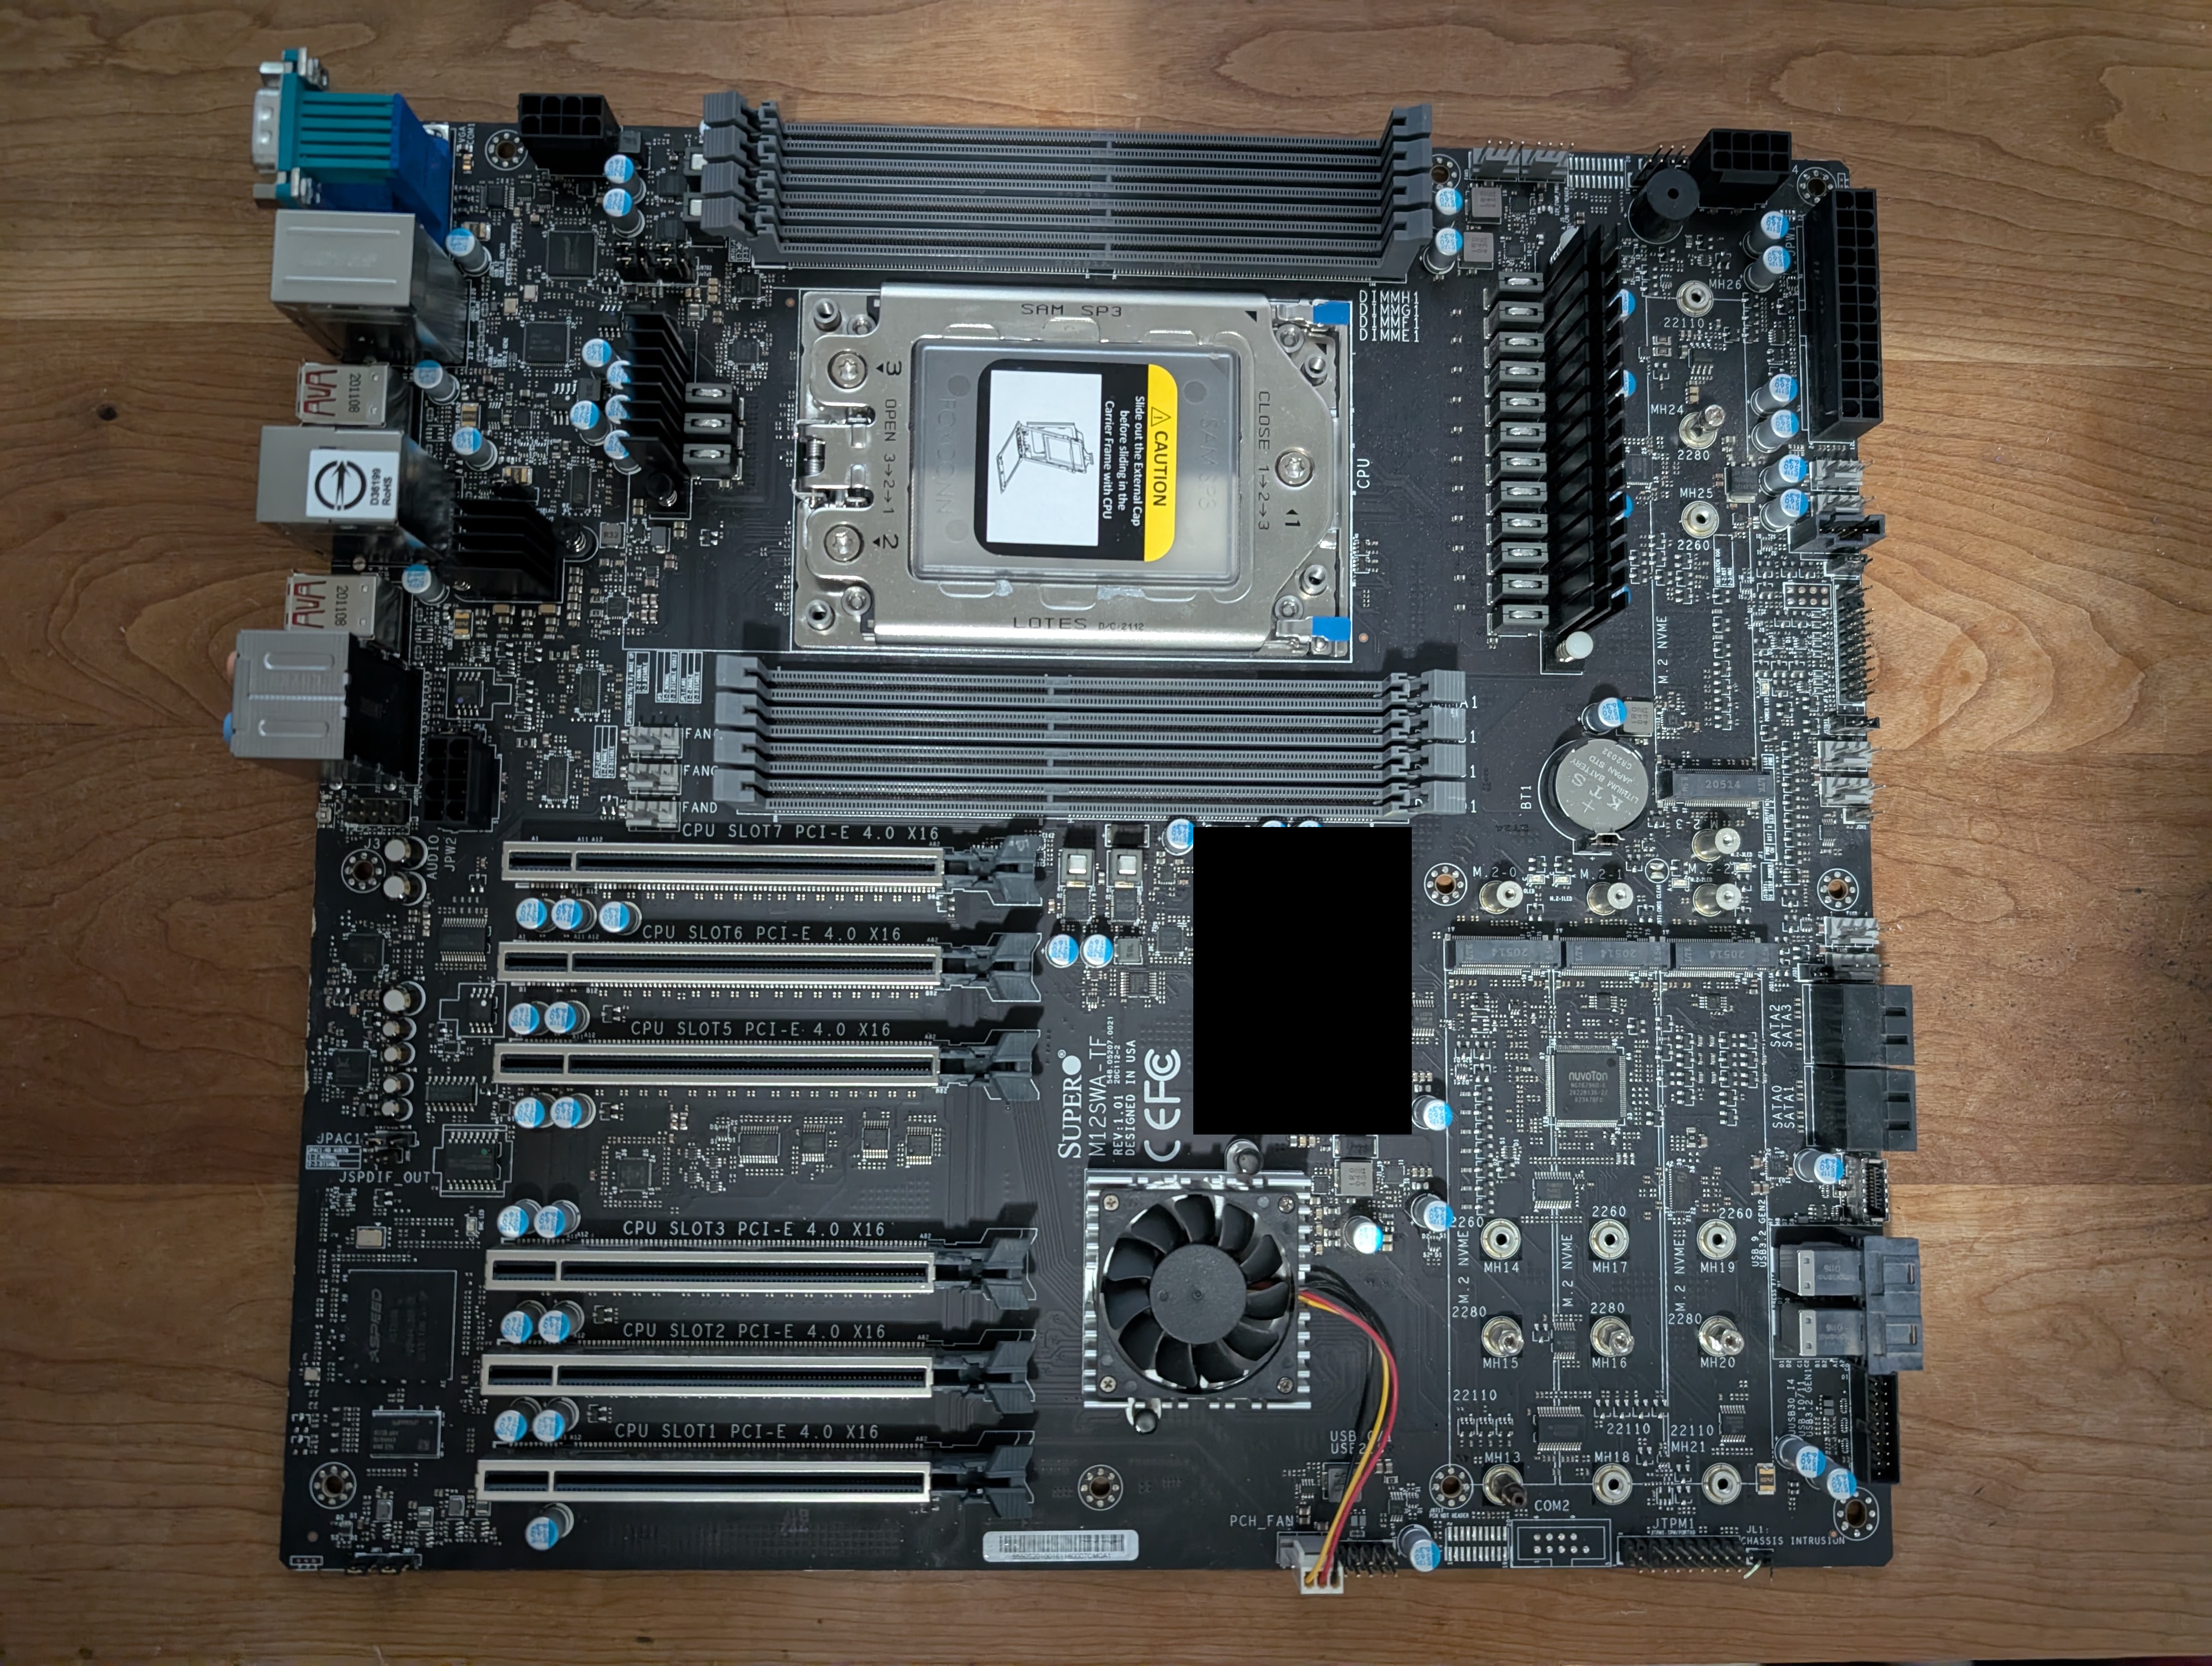
The New Platform
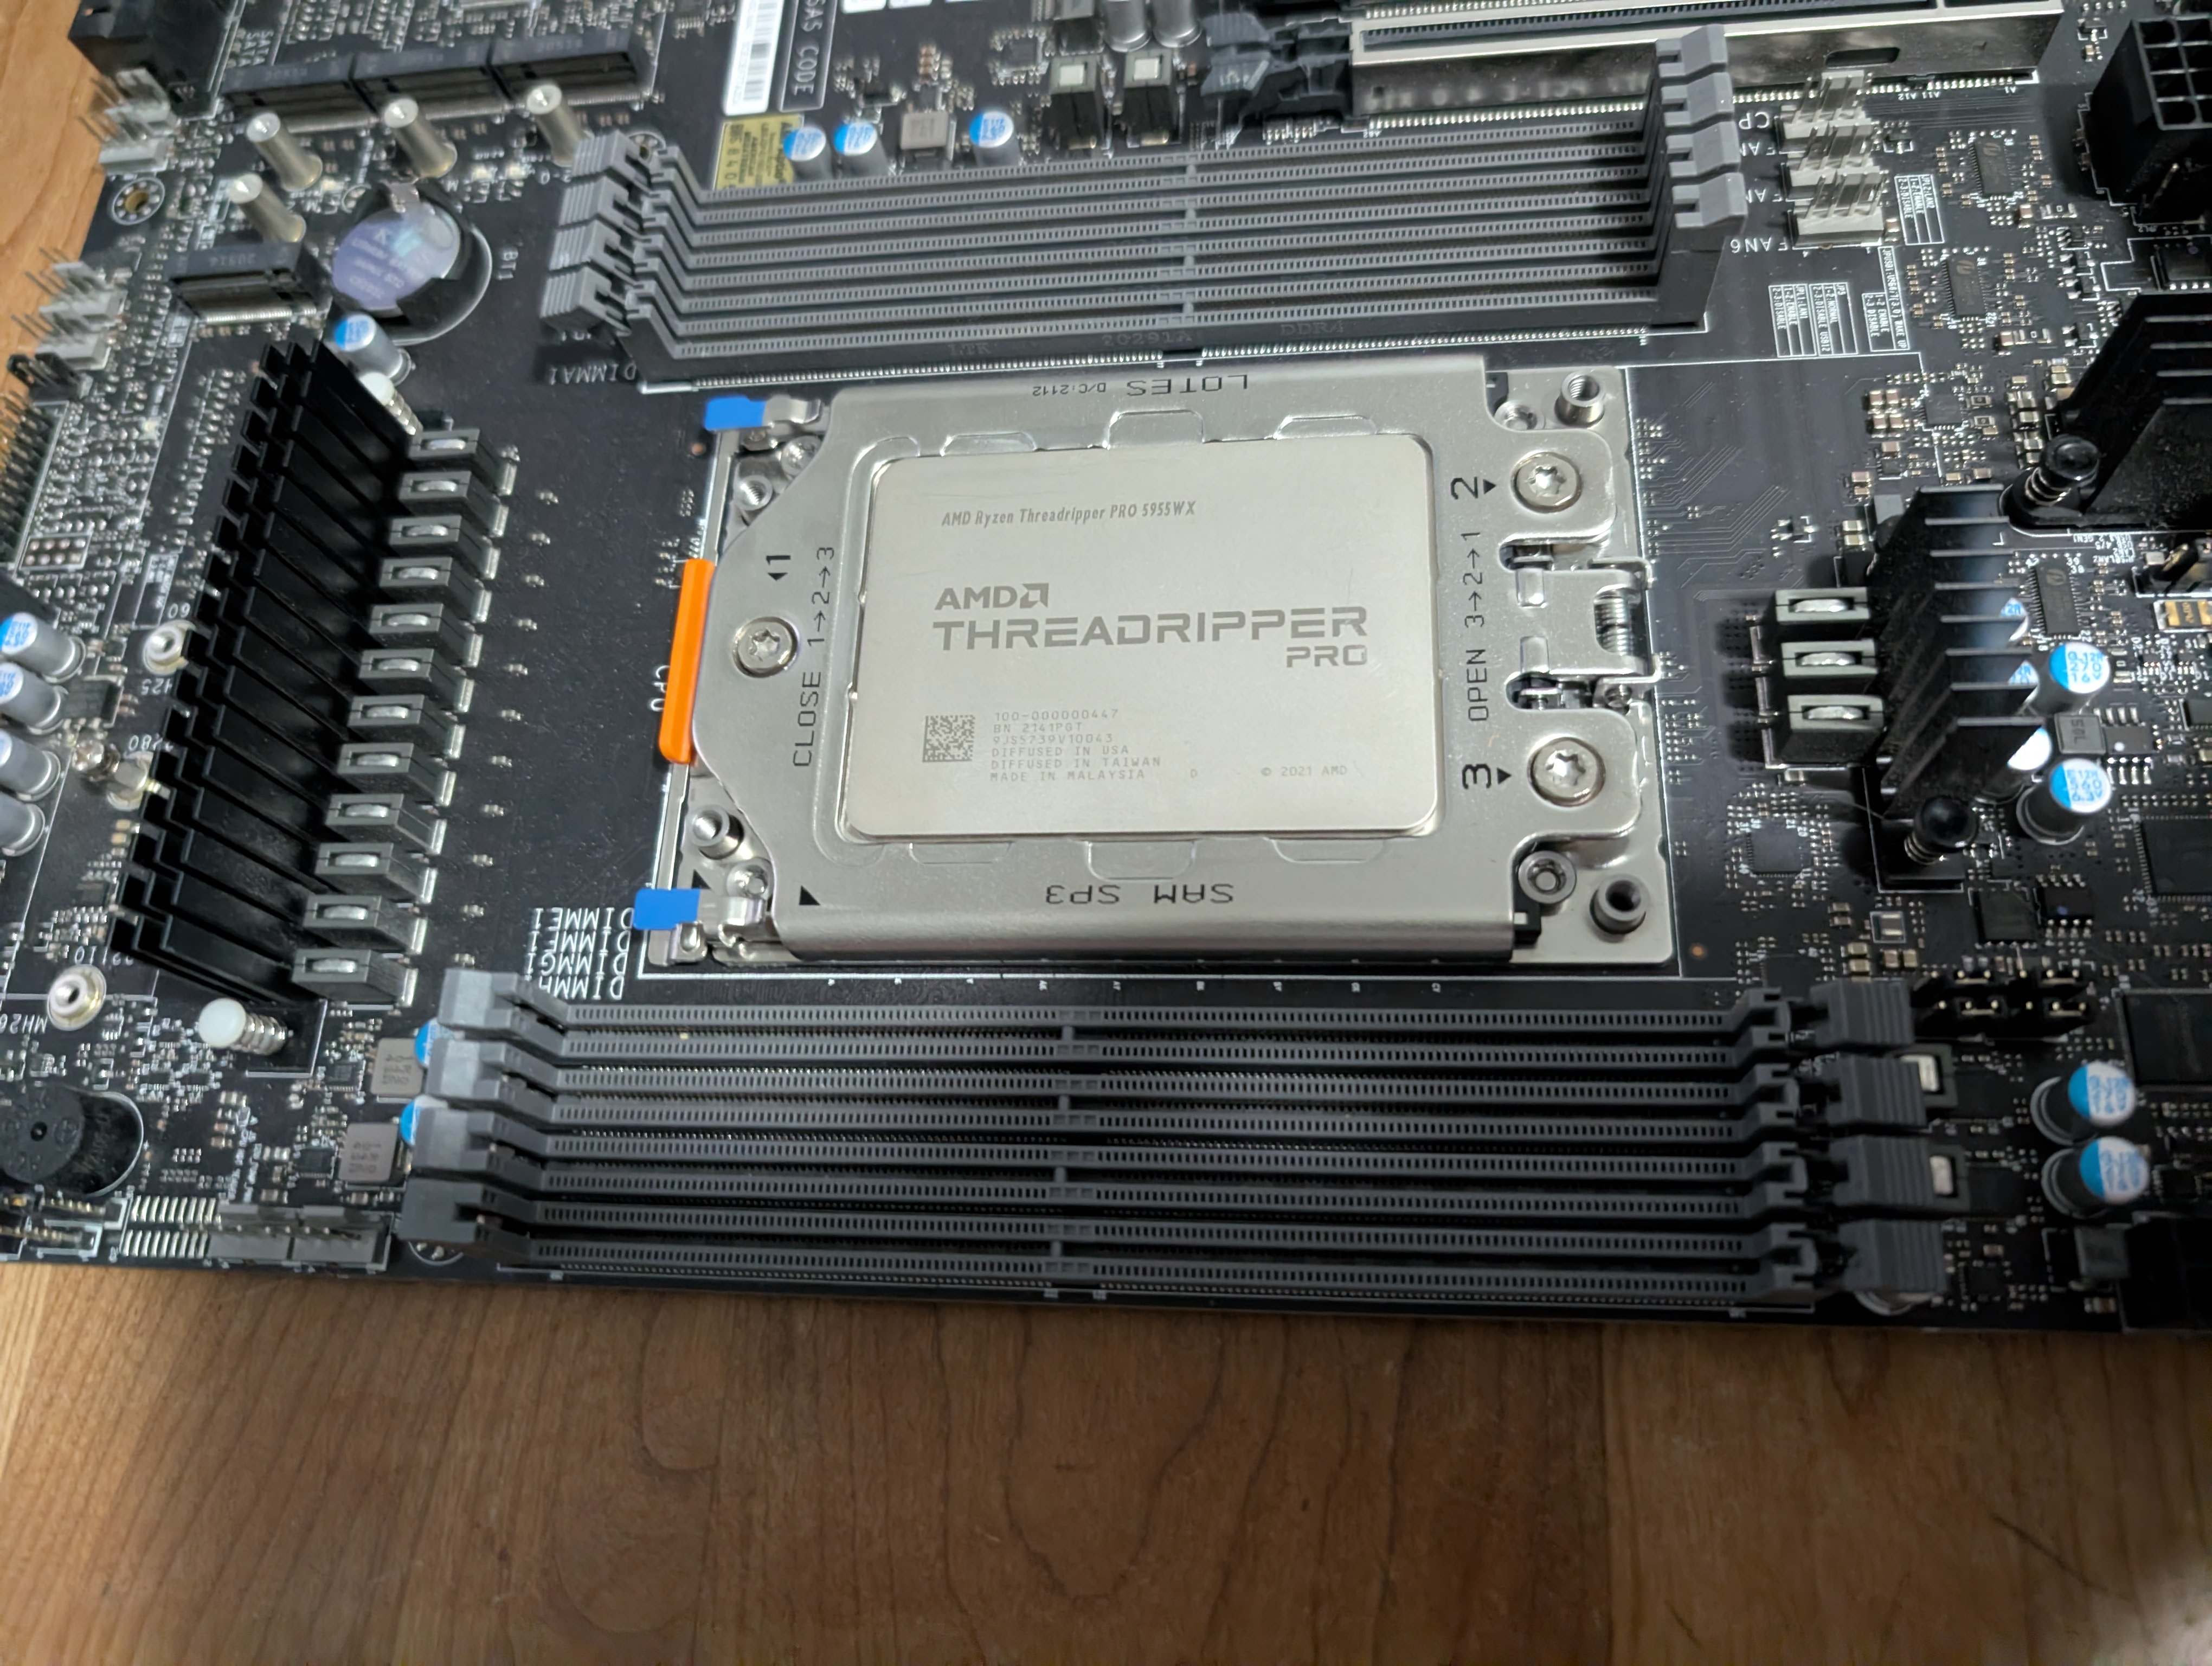
So the new rig as it stands is built atop the Supermicro M12SWA-TF WRX80 motherboard with room for six full 16x PCIe 4.0 slots, loads of ECC RAM, and a Threadripper Pro 5995WX. We populated it with 512 GB of ECC RAM, only 384 of which is currently working, and added an RTX 3090 Founders Edition card to the mix.
For approximate bill-of-materials, costs, and design rationale, please visit the first post about Project Ironhorse: here
BUILD ISSUES & RESOLUTIONS
Motherboard BIOS Issues
The motherboard is not particularly easy to get going. Whereas gaming motherboards usually have an okay BIOS, and they just sort of detect things. The Supermicro board really did not. It was a confluence of issues, which had to be teased out in order to get it running.
JPW3 Connector
The first being that I didn't connect the board's JPW3 connector to power, thinking that it probably shared a common bus with JPW2 and JPW4--evidently not the case. Also, the GPUs were not immediately detected and video went to the onboard to the VGA port (who tf still has a VGA monitor?).
RAM Troubleshooting
Next, it absolutely didn't help that one of my RAM modules was faulty, preventing the system from booting when said module was installed. I had to use process of elimination to find the faulty module, which reduced our total system memory from 512GB to 384GB (had to remove a pair of RAM sticks).
Manual Consulting
Note: The solution, of course--in lieu of reading the manual--is to download the manual, convert PDF to text, and then let Claude or Opencode RAG the manual. This was instrumental in debugging all the various shit that was going on. It provided useful info on which RAM to install first, and other idiosyncrasies you can expect from an unfamiliar motherboard. I really recommend doing this both for time-savings, but also thoroughness. Dumb simple, but a game changer.
POWER SOLUTION
Anyway, reducing installed RAM to a single module first, and using a VGA to HDMI adapter, we were finally able to see the processor POST, and finally get into the BIOS.
We then did a fresh install of Pop!_OS. Installed six of the eight memory modules, combined a 600W supply with the existing 1300W supply using an ADD2PSU adapter to get us a total nameplate of 1900W. This is enough power for the 3x GPUs + CPU, and I avoided the cost of a new power supply for now.
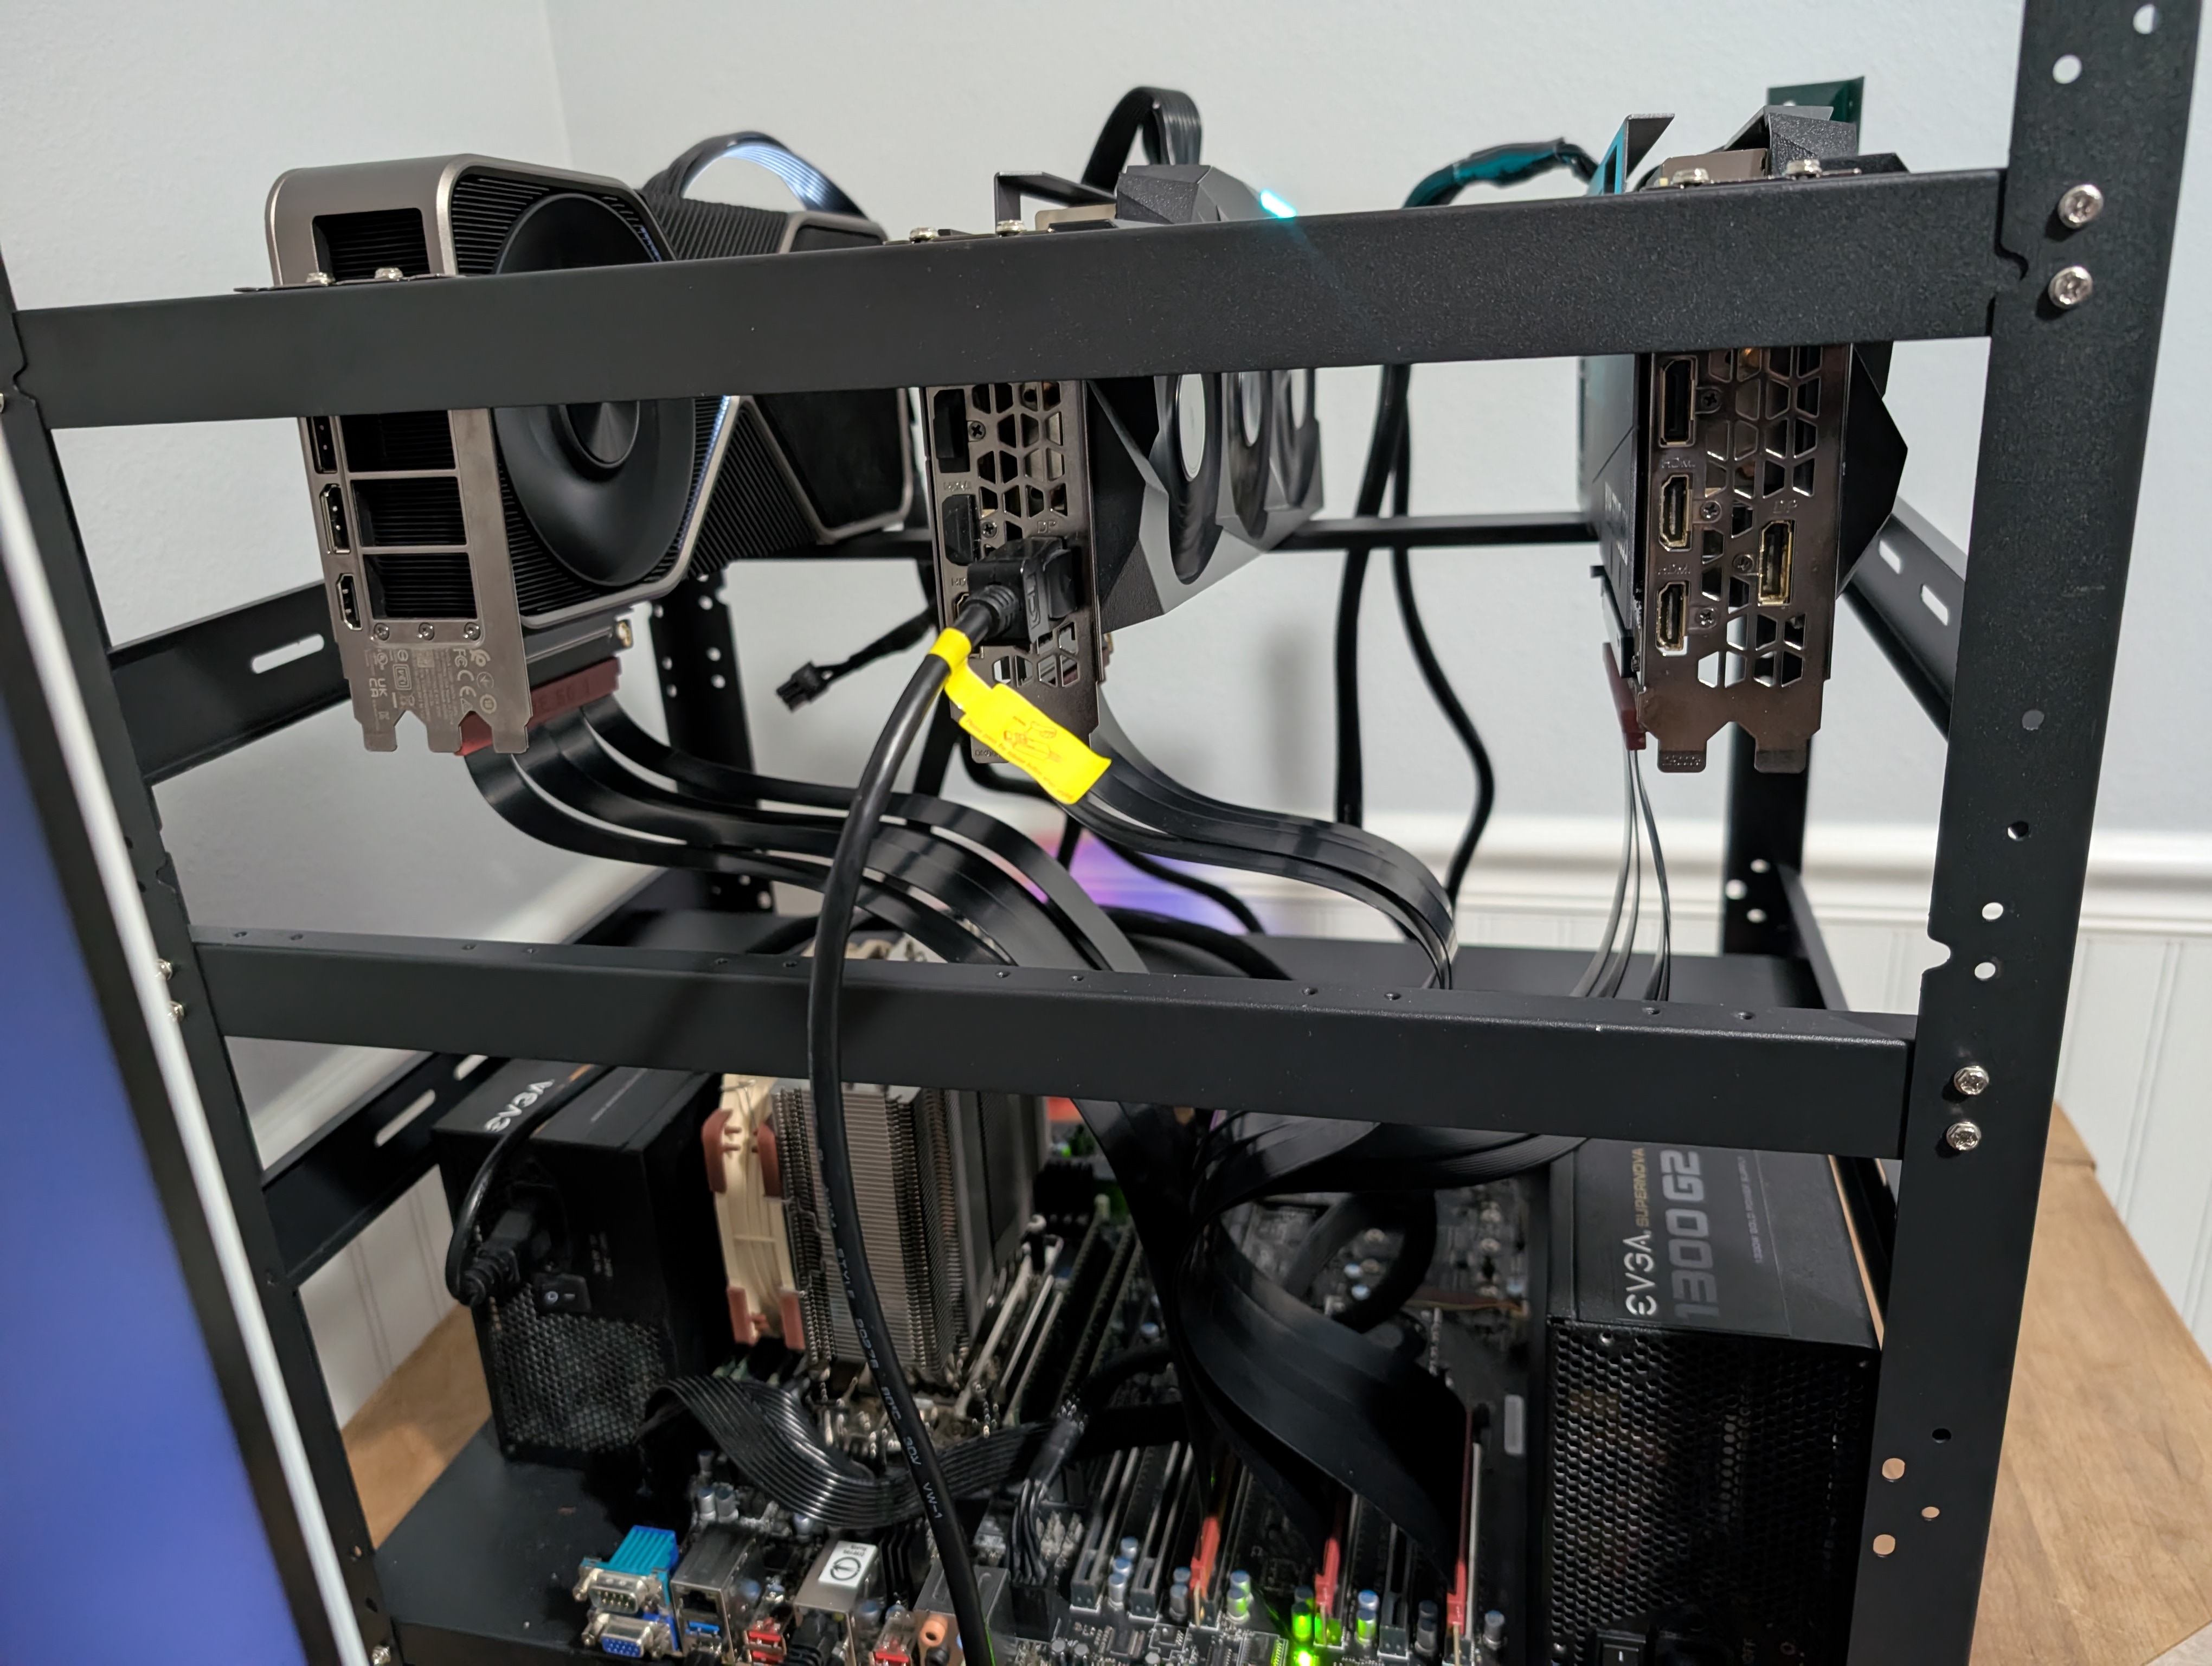
GPU ADAPTERS
Finally, we got a new NVIDIA RTX 3090 Founders Edition to add to the mix. Beware that I had to buy a 2xVGA to proprietary connector adapter, because the Founders Edition has a weird port on it... Something I wasn't expecting, but that is easily solved by Amazon.
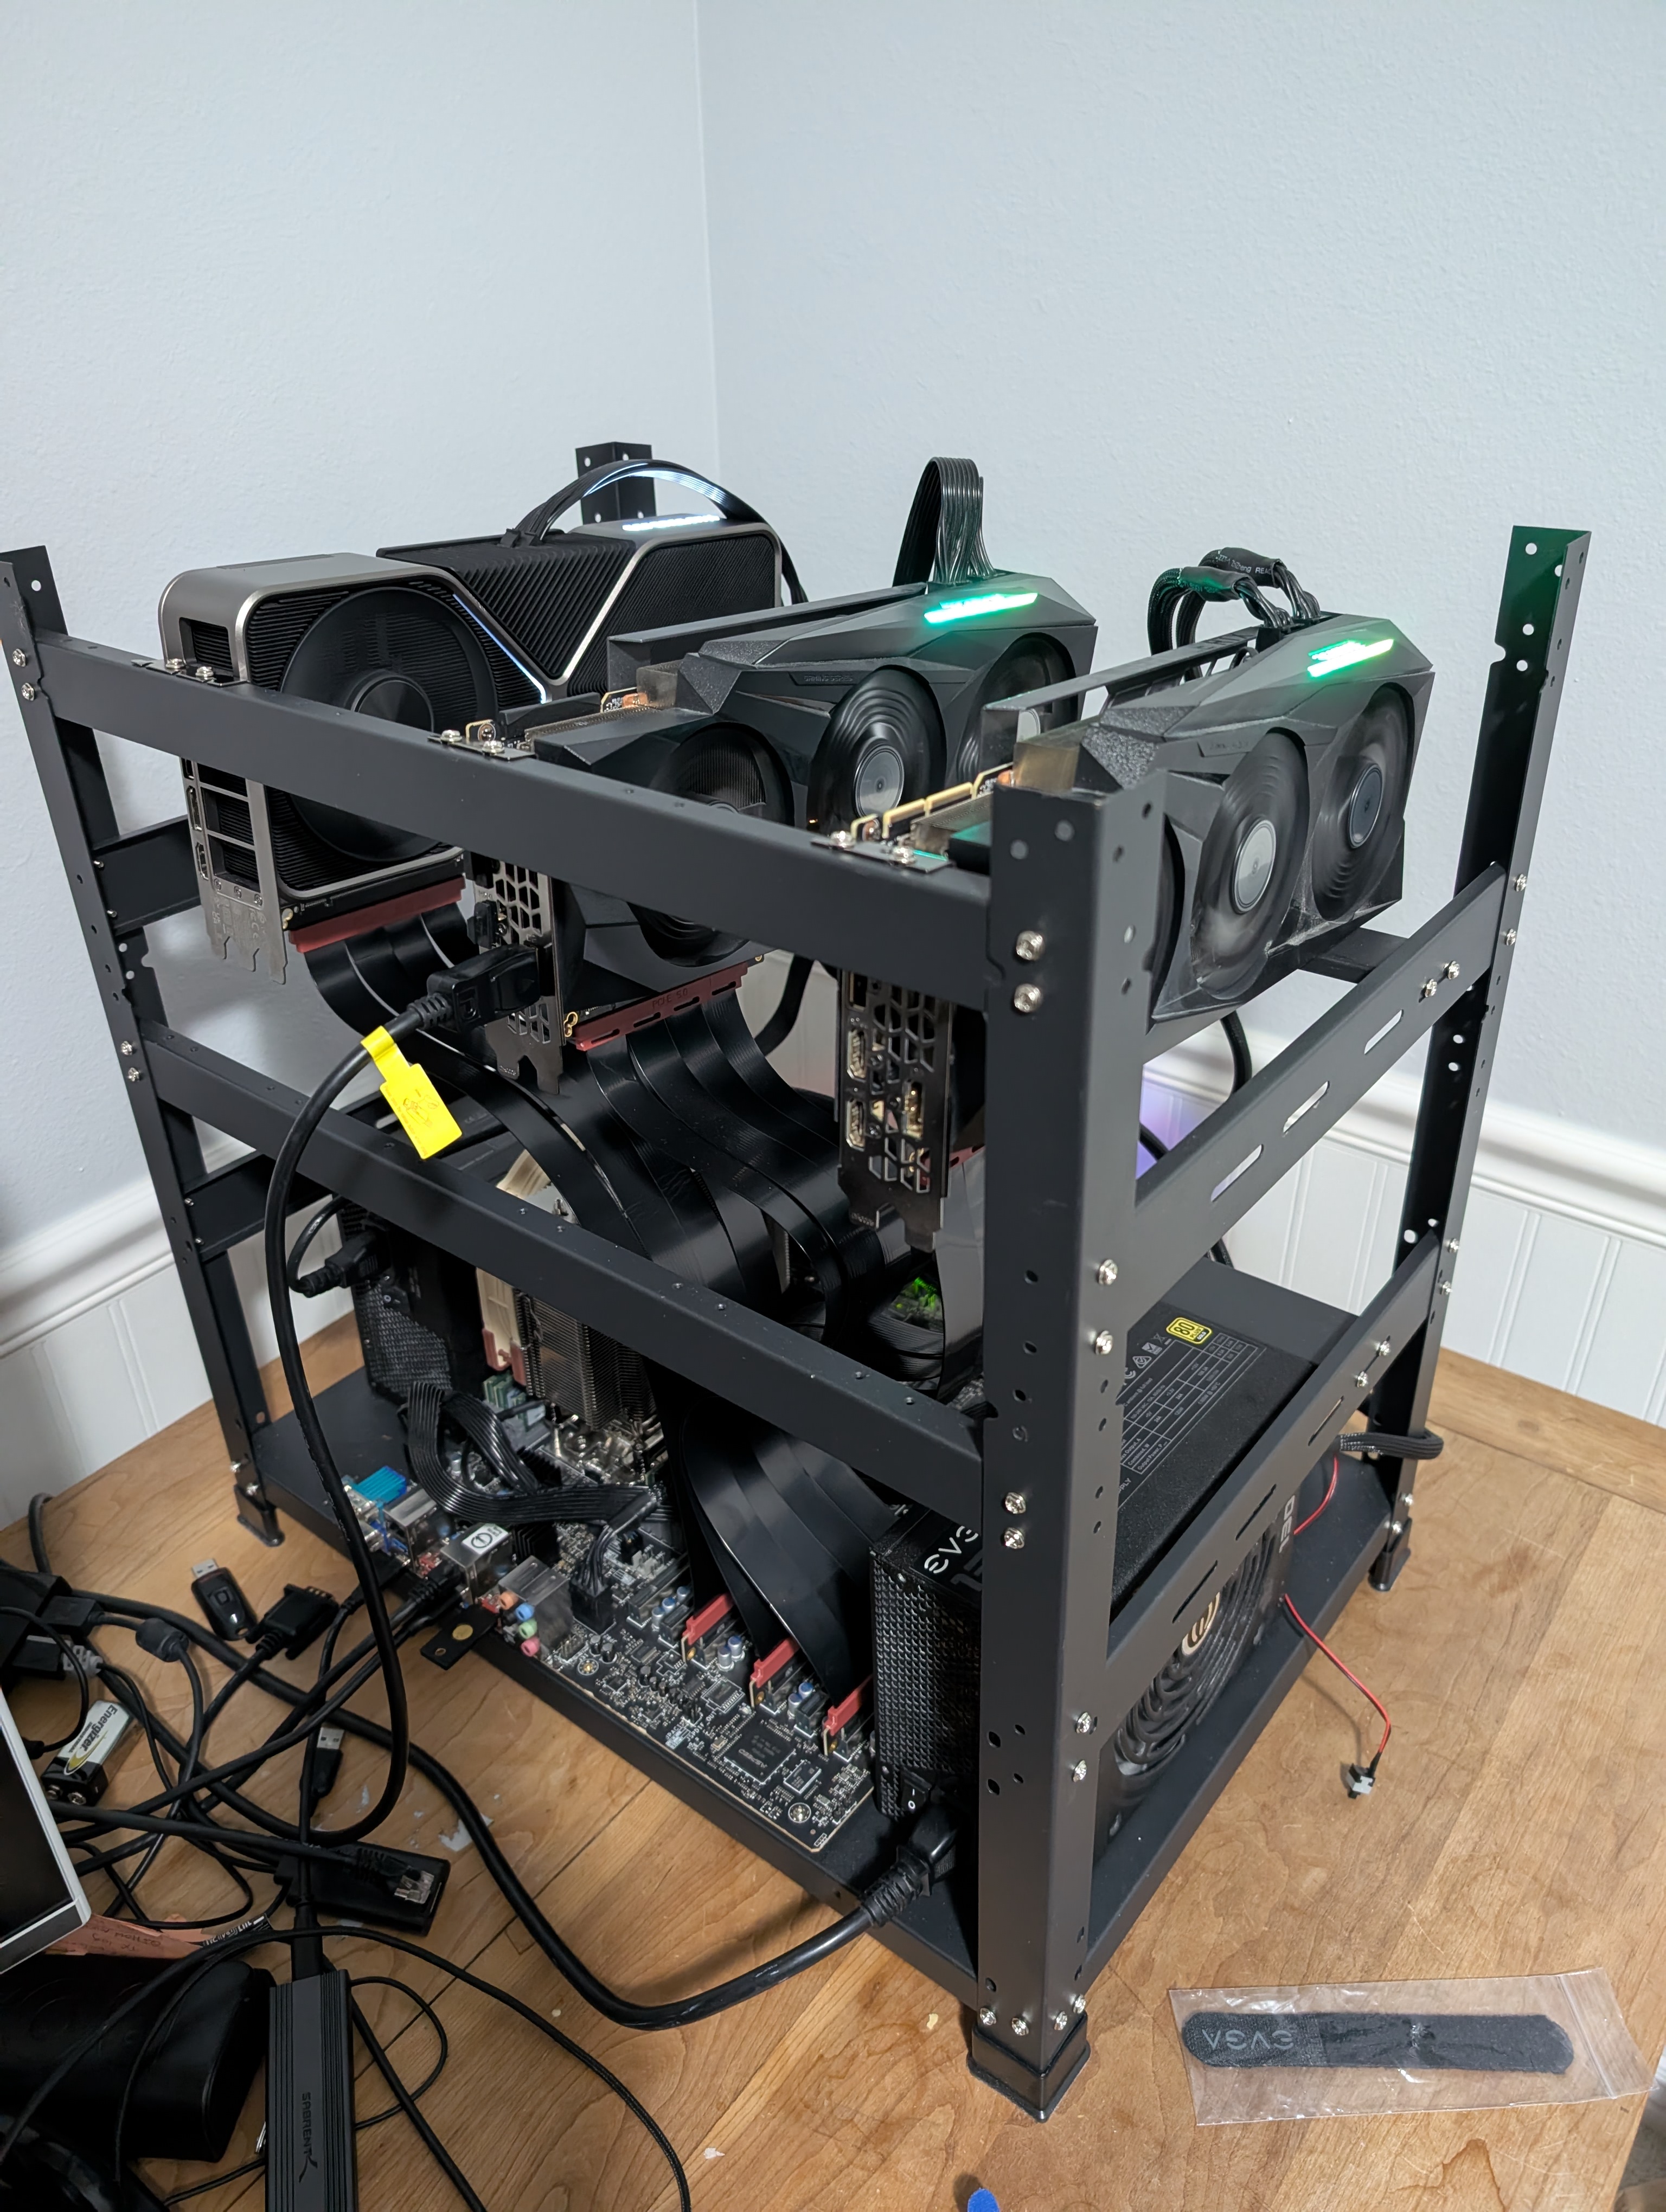
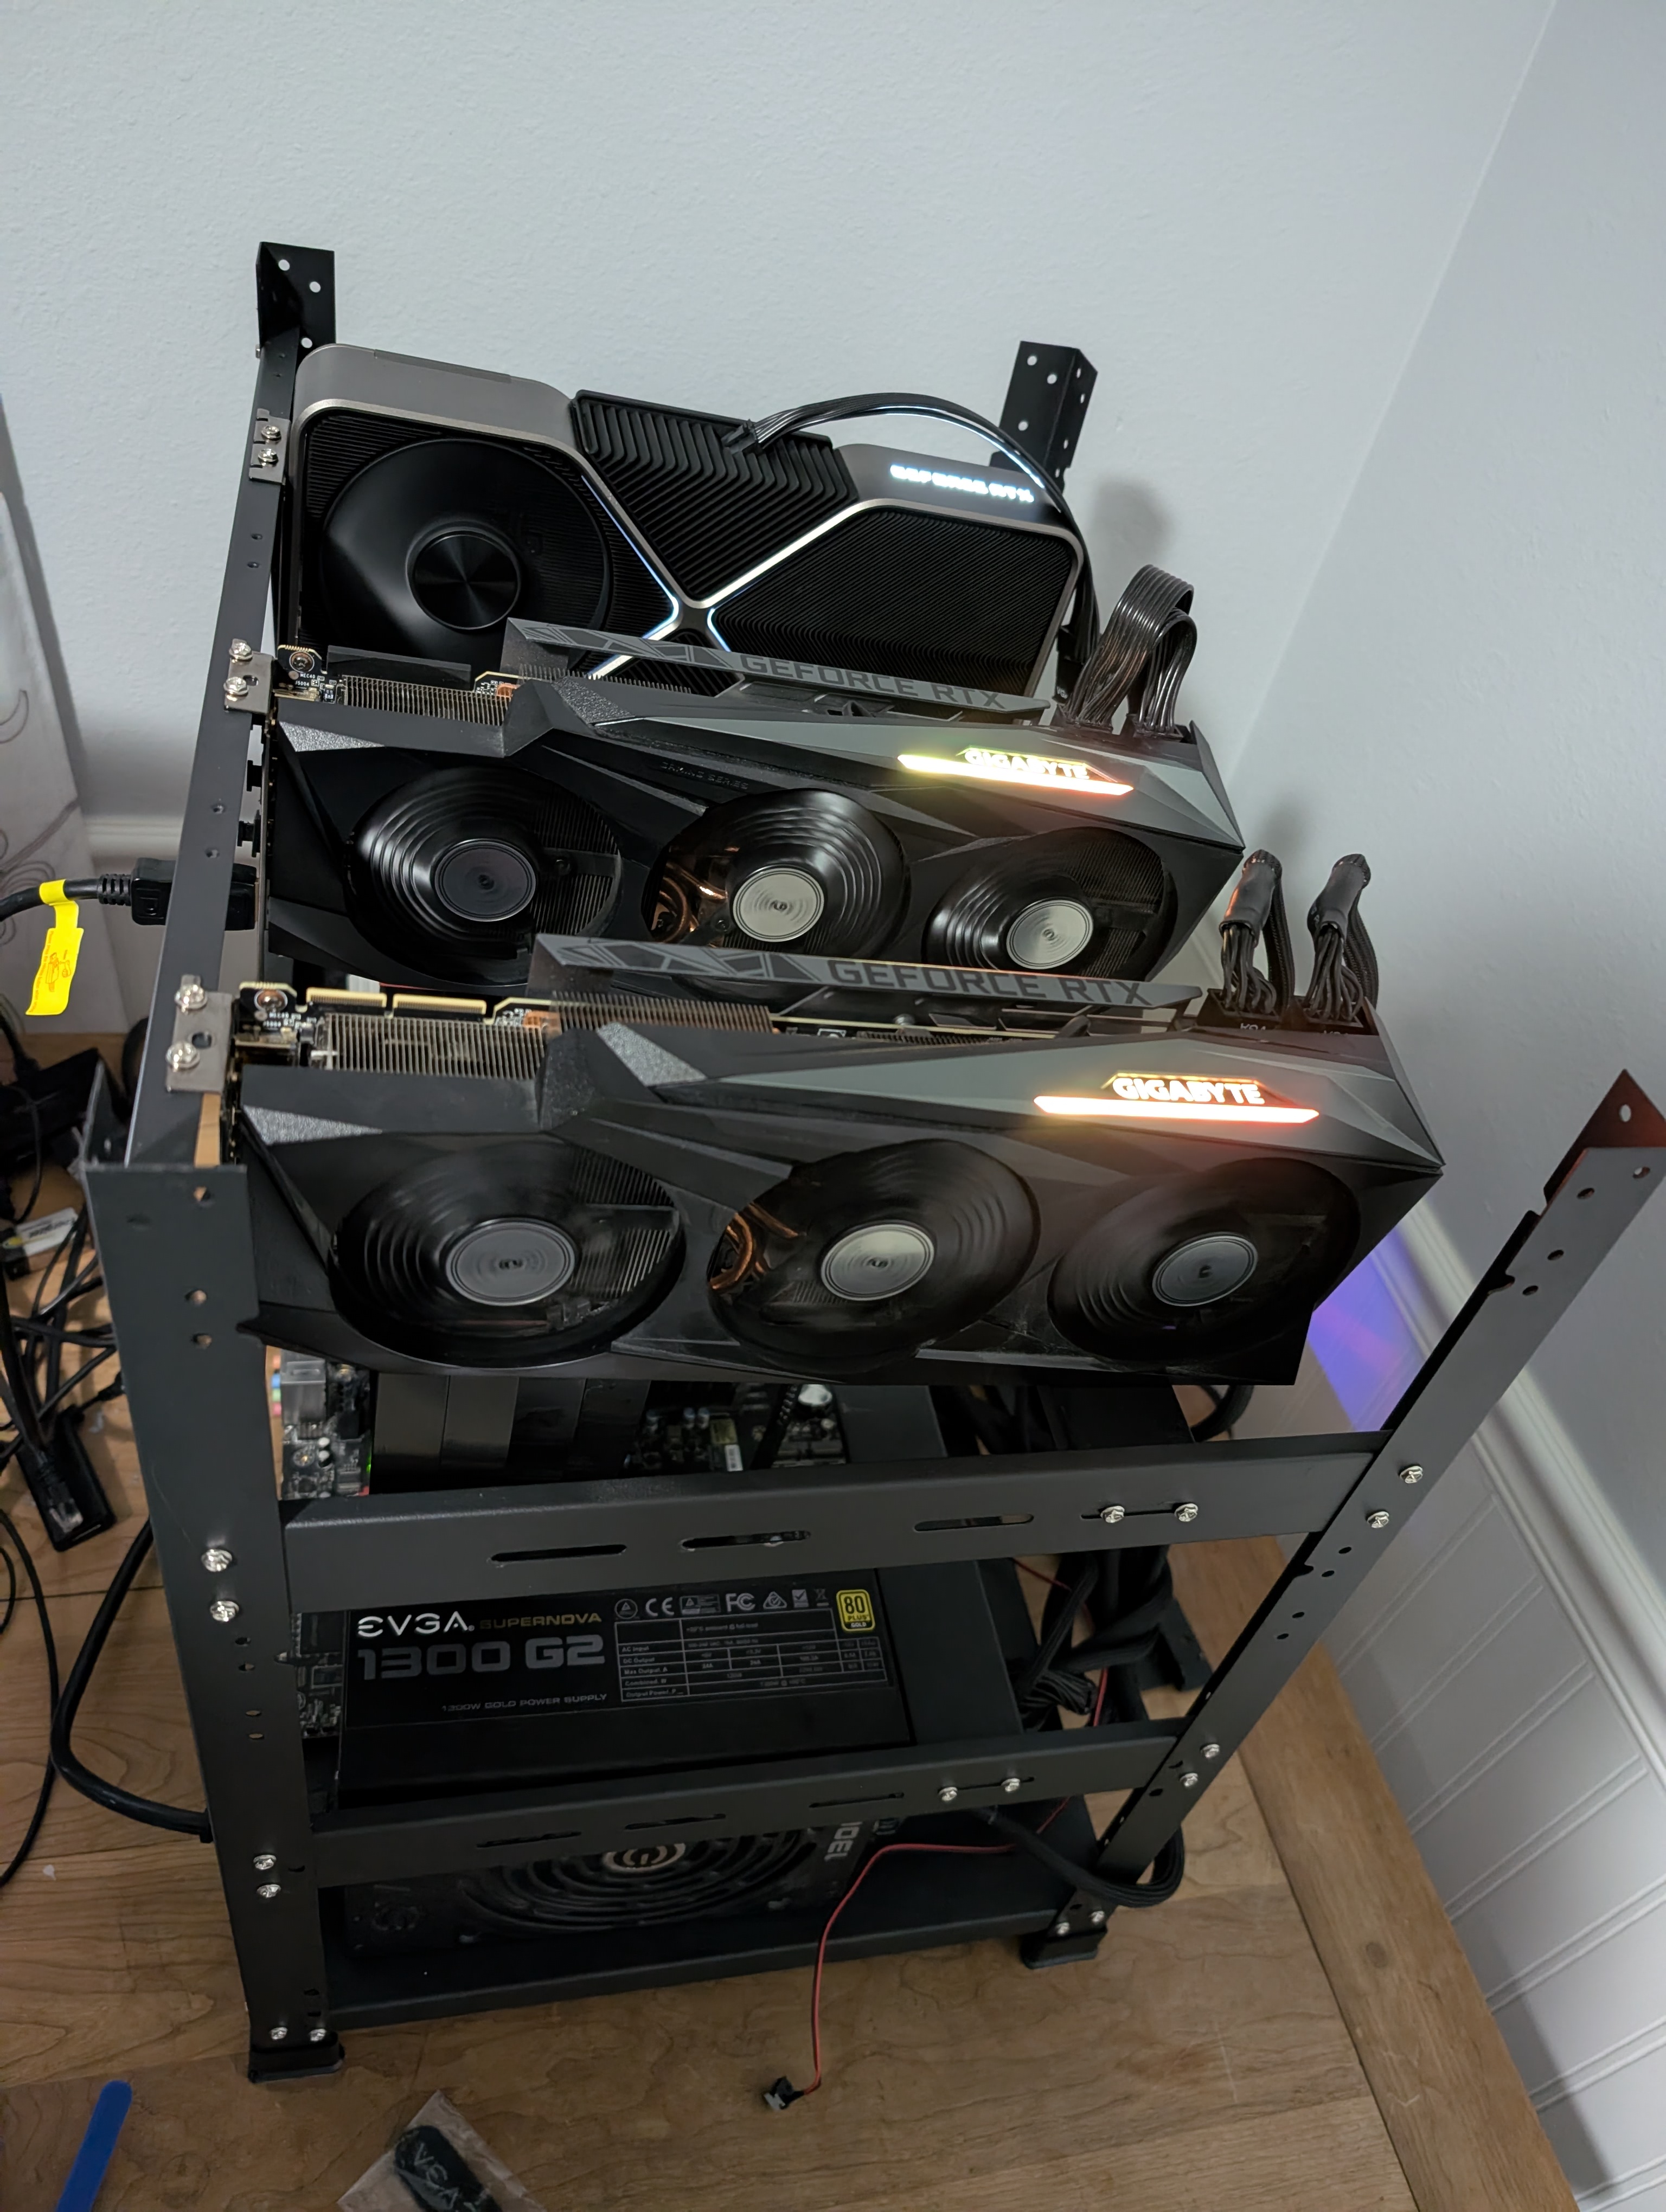
THE FINAL SETUP
So here we are, 3x 3090s, a massively overkill processor, and a very good albeit finicky motherboard as our platform. The system will be able to scale up to six GPUs presuming we get enough power to the rig.
EARLY PERFORMANCE
I'm already satisfied what the machine is able to do, and we have been running GLM-4.7-Flash with OpenCode all weekend, very much to my delight. We get about 75 tokens/sec w/ the Unsloth GGUF Q5_K_M model, and are abusing the full context window with very little observed degradation even >100k tokens. We also get to say that we earned it!